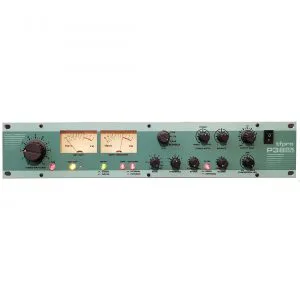

The P38EX MK2 is the most sonically flexible compressor I’ve ever had the pleasure of using. Four modes, and each one of them brings something different and valuable to my workflow.
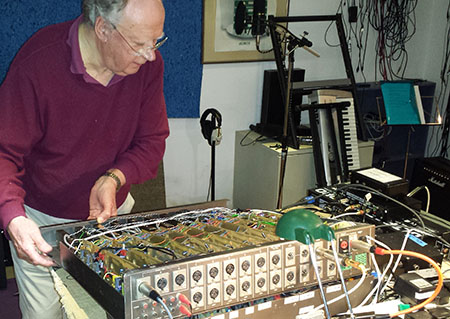
tfpro has been a high-end analogue audio equipment manufacturer since 2002. The innovative audio equipment you’ll find here has been designed and handmade in the UK by Ted Fletcher, co-founder of Alice and founder of Joemeek® and Orbitsound.
With more than 50 years as a pioneer in audio, Ted continues his dedication to sound by creating modern and innovative audio equipment. Ted has collaborated with many renowned artists and is still creating and developing audio gear coveted by top mixing, mastering, recording artists the world over.